- Difficulty: Advanced
- Equipment Needed: Mat (The mat shown in this video is the Contrology Folding Mat.)
- Reps: 3-5 each direction
- Warning: Mat not be suitable for some back or neck issues.
- Questions: Contact us here
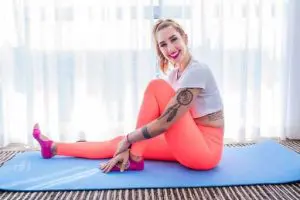
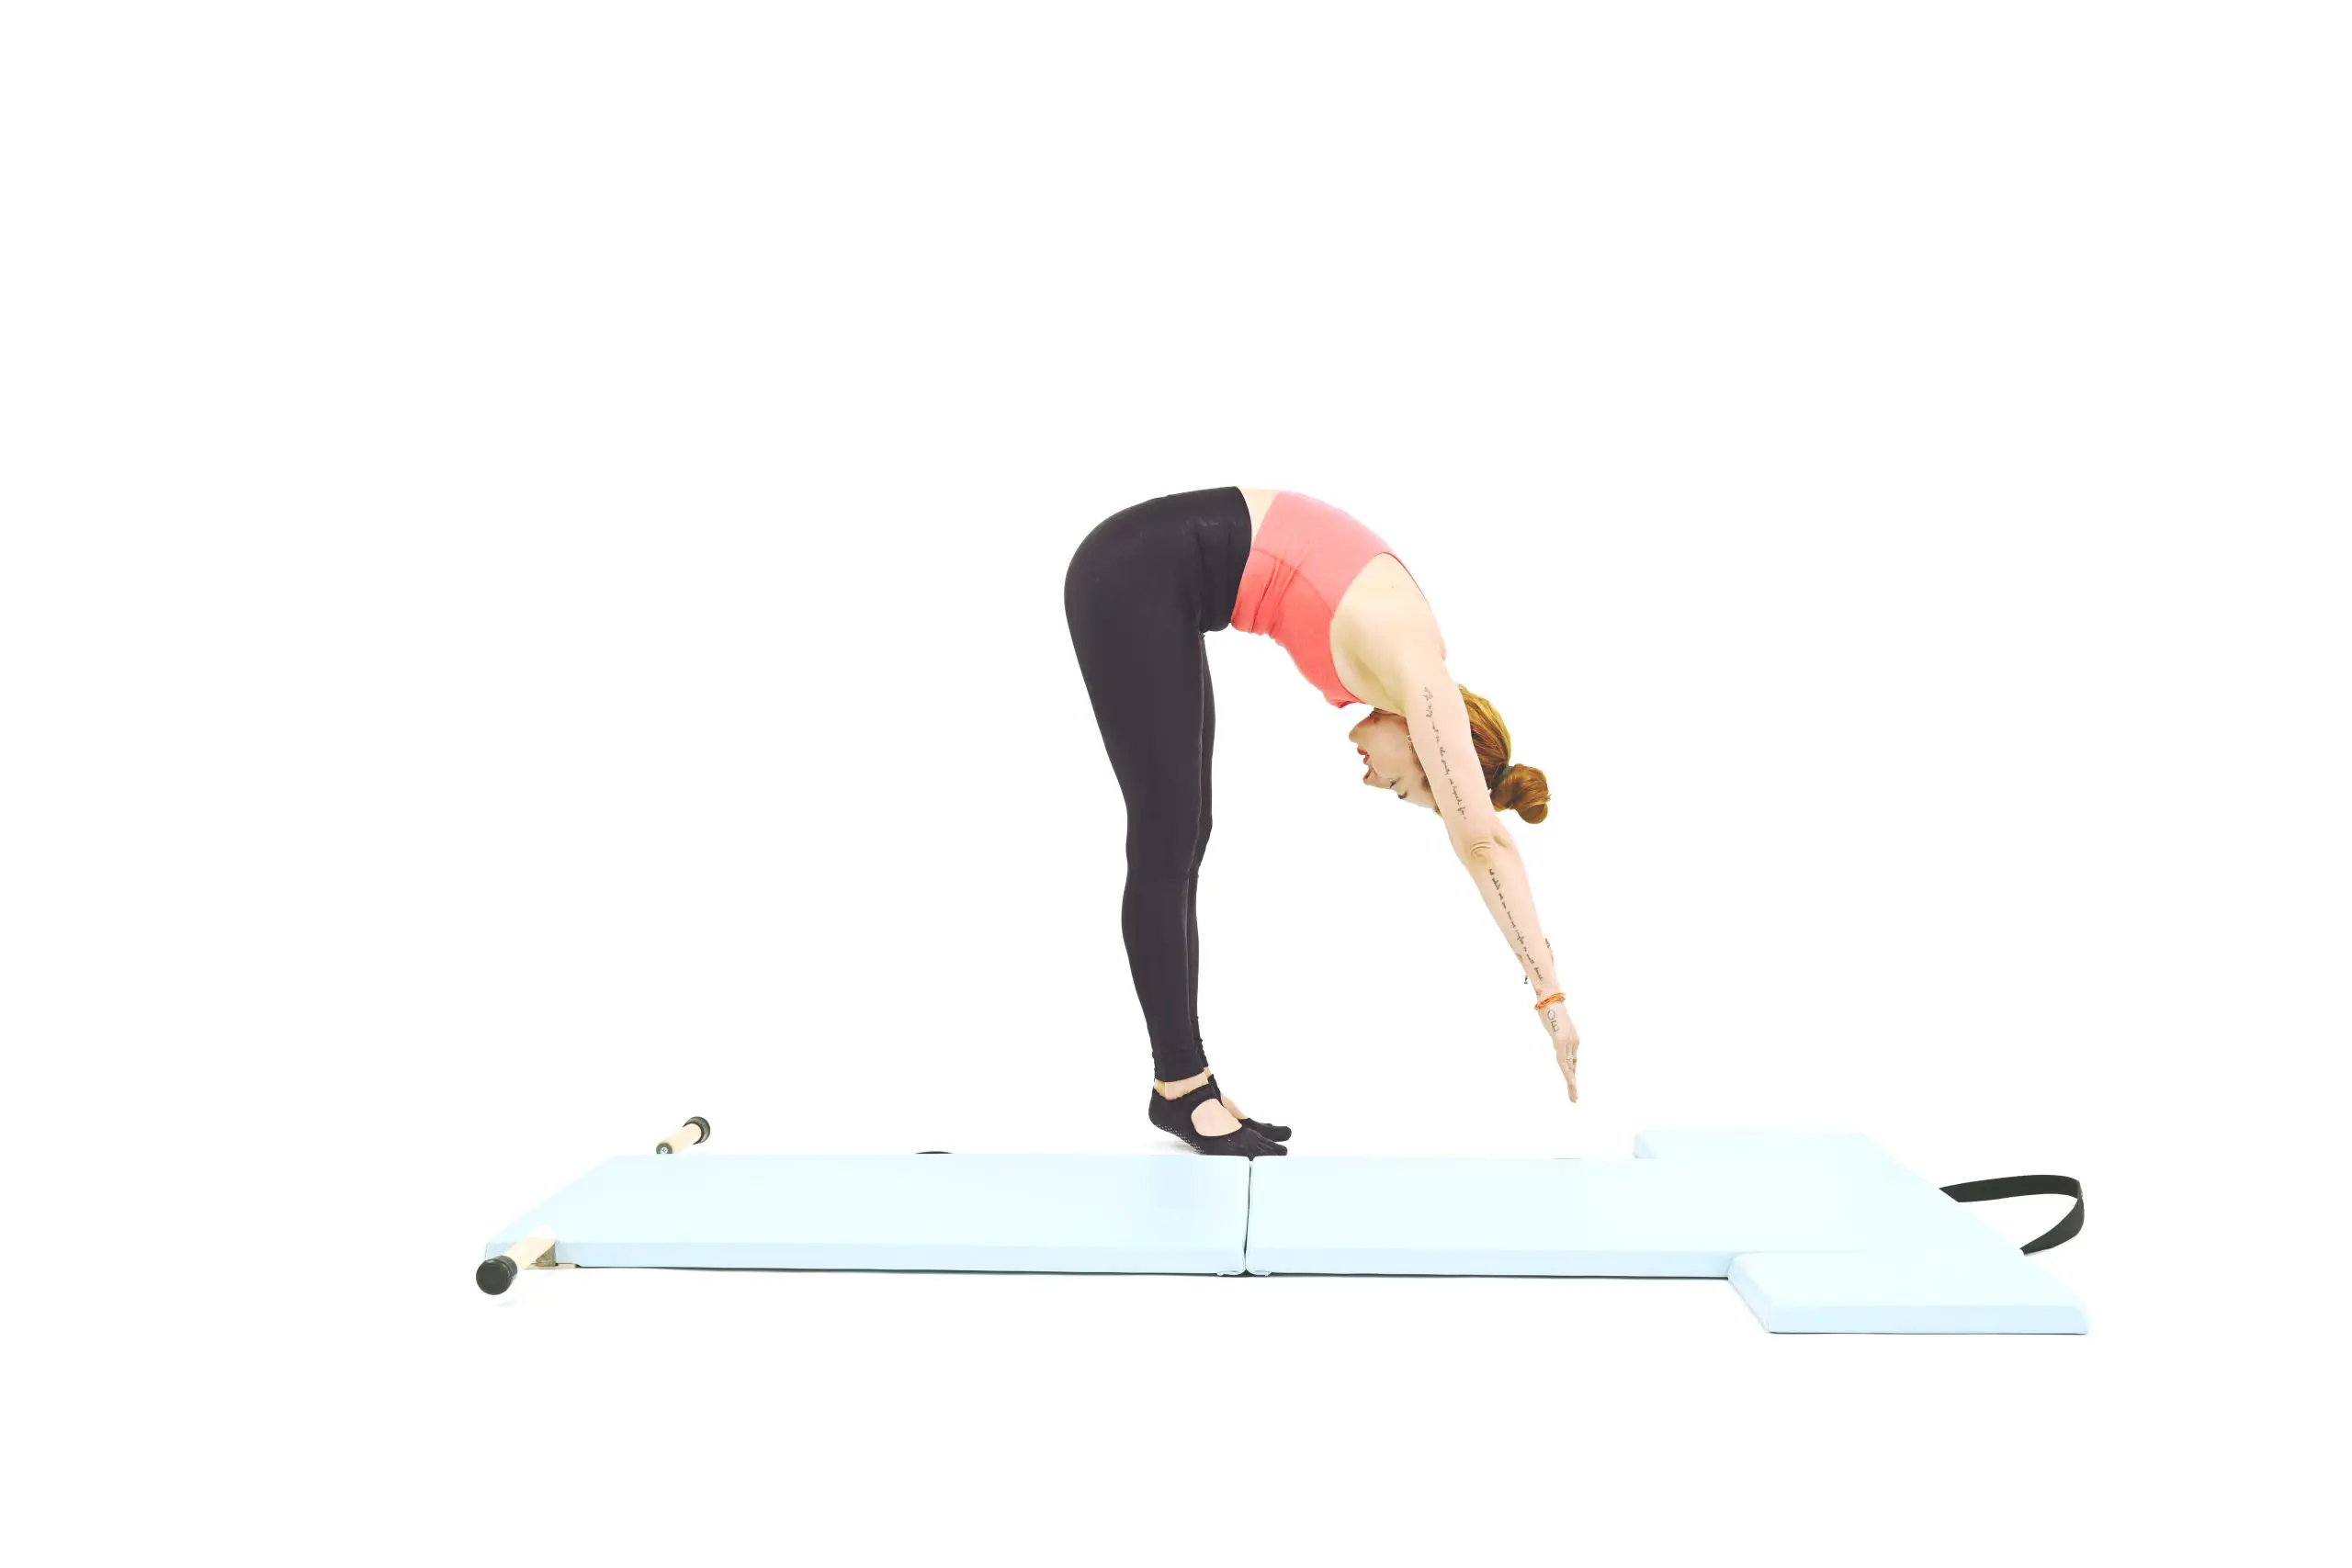
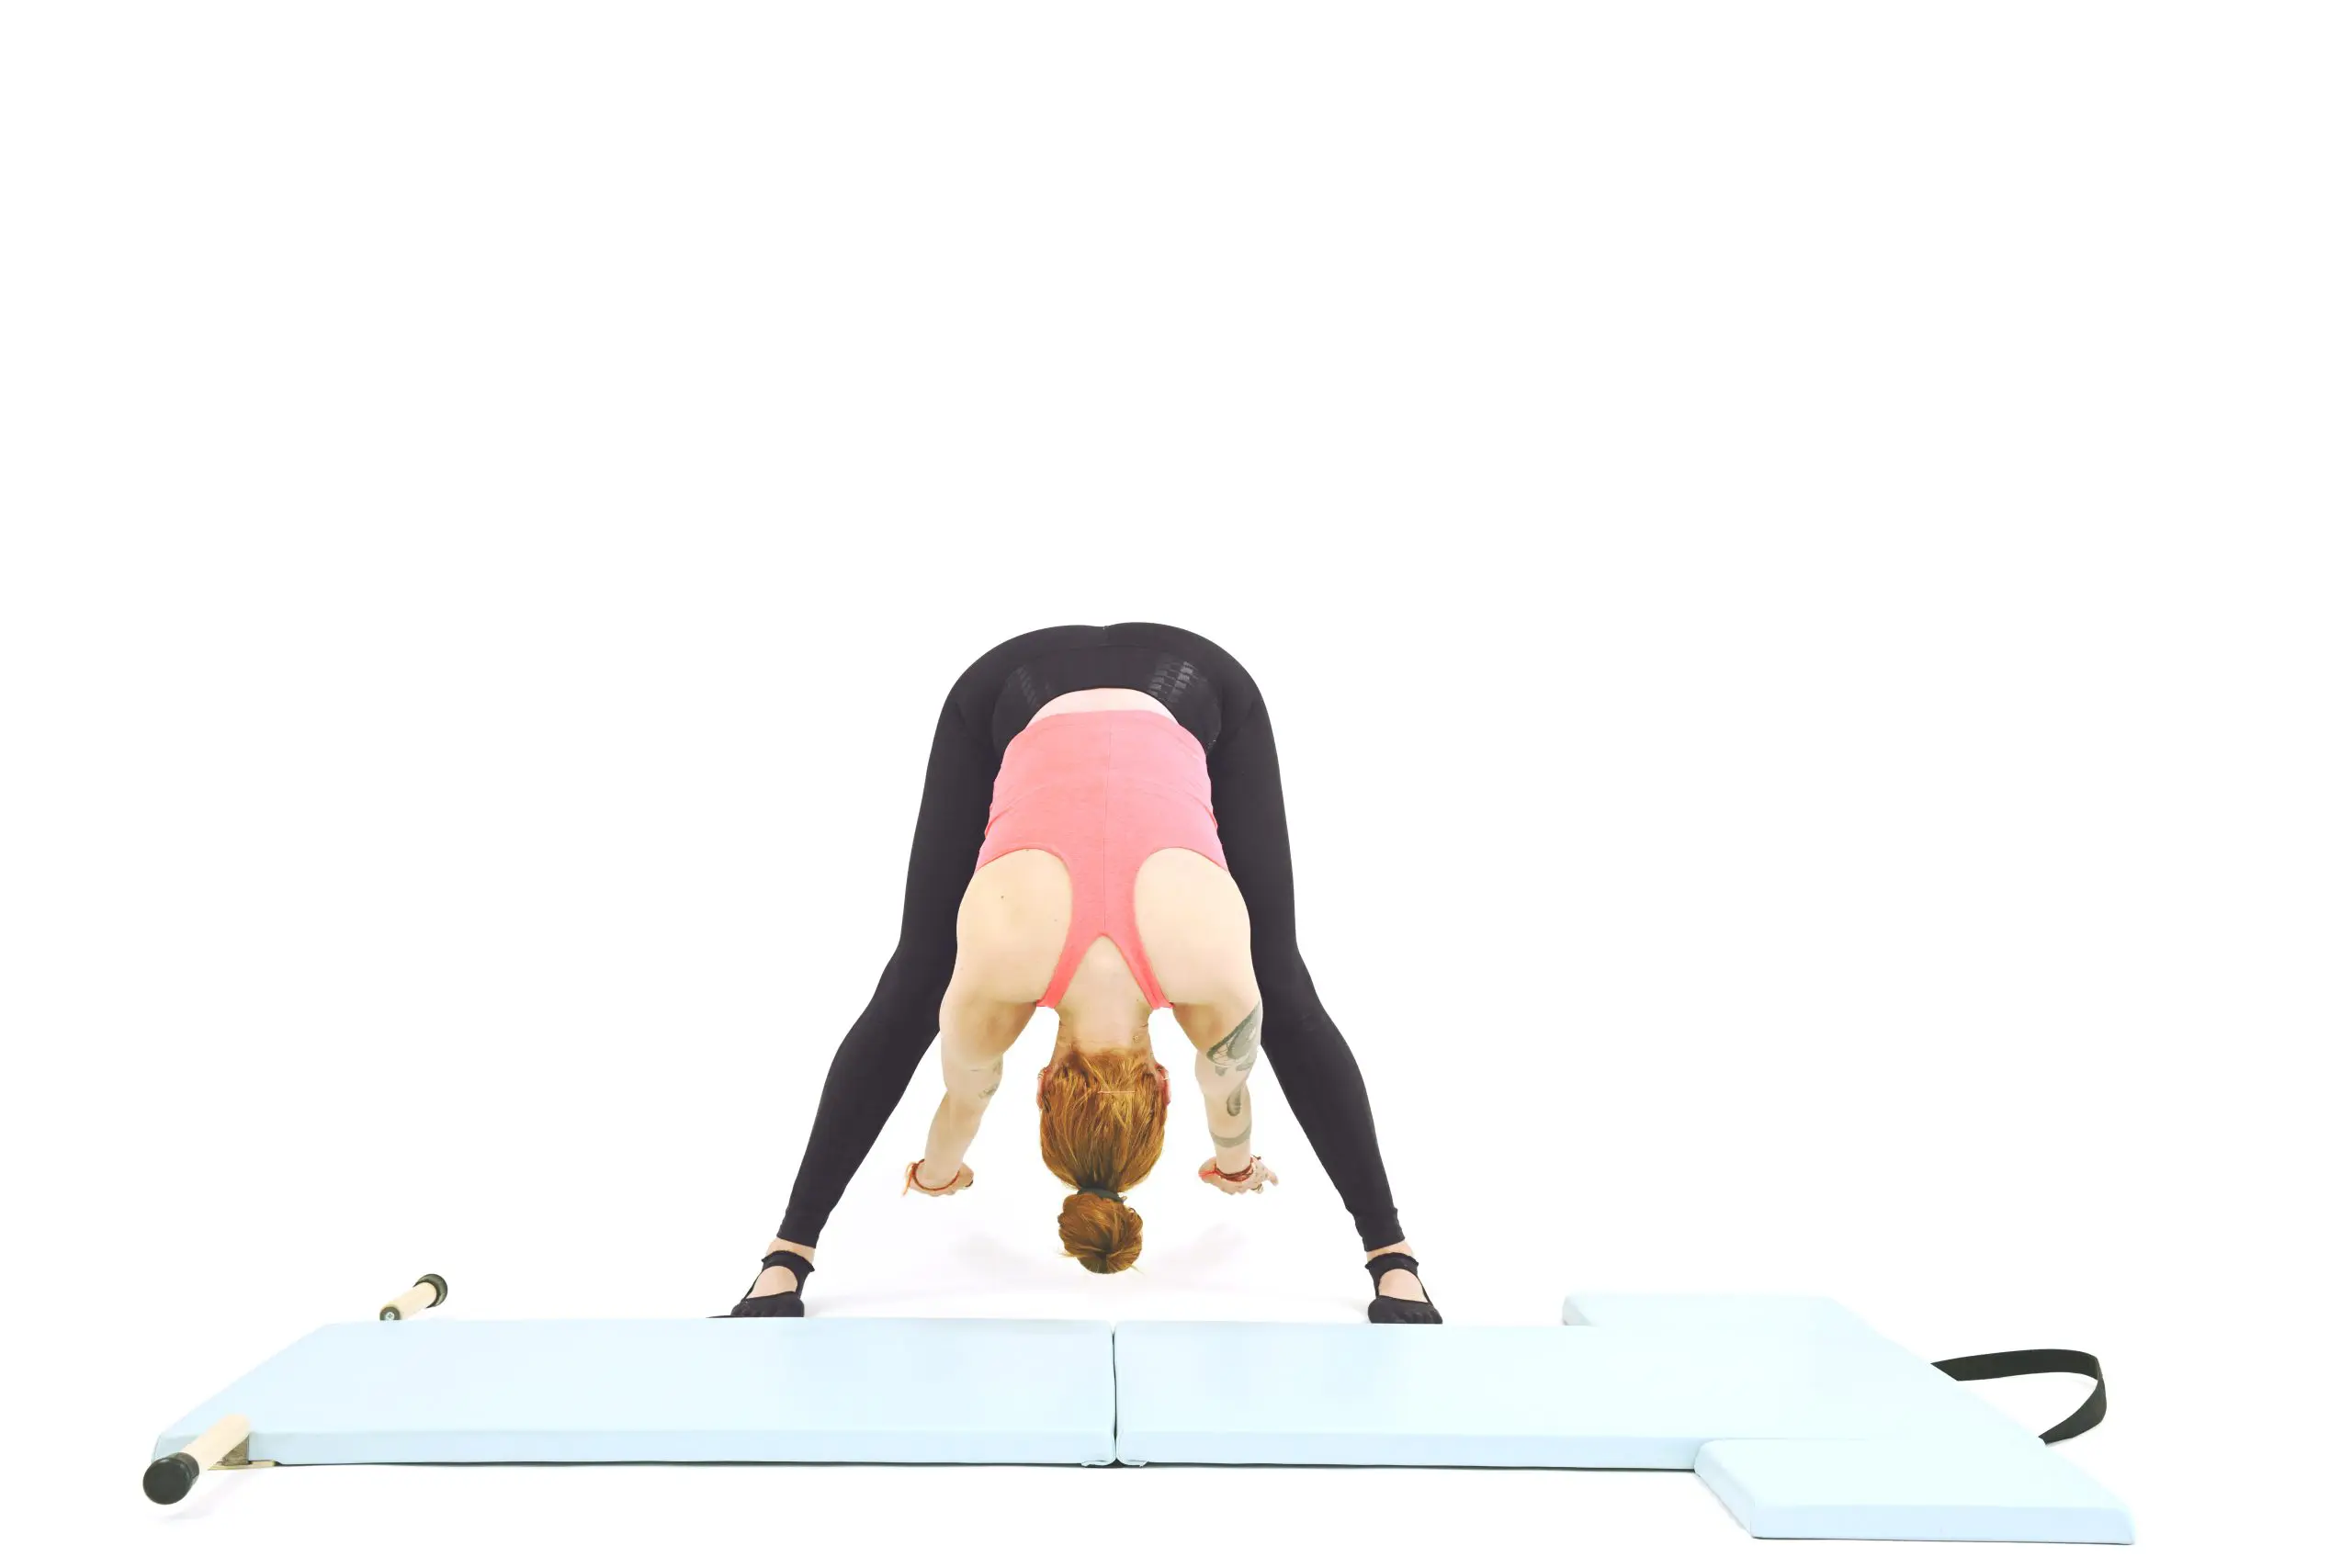
Corkscrew on the Mat
There are several ways you can do Corkscrew on the Pilates Mat depending on your level of Pilates practice and even the type of mat you have in your space. As you play with this exercise, explore where your range of motion is each day and also what is the best version for you. Some days you will roll up into a shoulder stand, maybe other days you won’t. Some days you’ll be able to really reach from one side to another and other days you’ll have to pull back. Focus more on the control and not the “bigness” of your corkscrew.
Keep your toes at the same level as you circle – twist from your waist.
If you have handles on your Mat, then use them. Reach from your back. If you don’t have handles, press your arms will be long at your side. If you are new to this exercise, you can leave your hips down and simply circle from one side to the other and reverse. If you are doing the more advanced version you will begin from your shoulder stand. Keep in mind that you are not twisting your hips to make the Corkscrew happen. You are twisting your waist. Also, you are drawing an even circle from one side to the other. It’s easy to skip the reach to the second side.
From your shoulder stand, roll part way down through center and then reach your legs from one side of the room, through center and then to the other side and roll back up into your shoulder stand. Reverse directions and repeat two to three more times. If leaving your hips on the Mat, simply reach your legs from one side of the room, circle around to the other side and reverse. Keep in mind that your toes should remain at the same level throughout the exercise. If your top foot is sliding down, it means you are losing the circling from your waist and are hinging in your hips.
Be sure to check out more of my Pilates Mat exercises. I want to help you continue your Pilates Mat training!