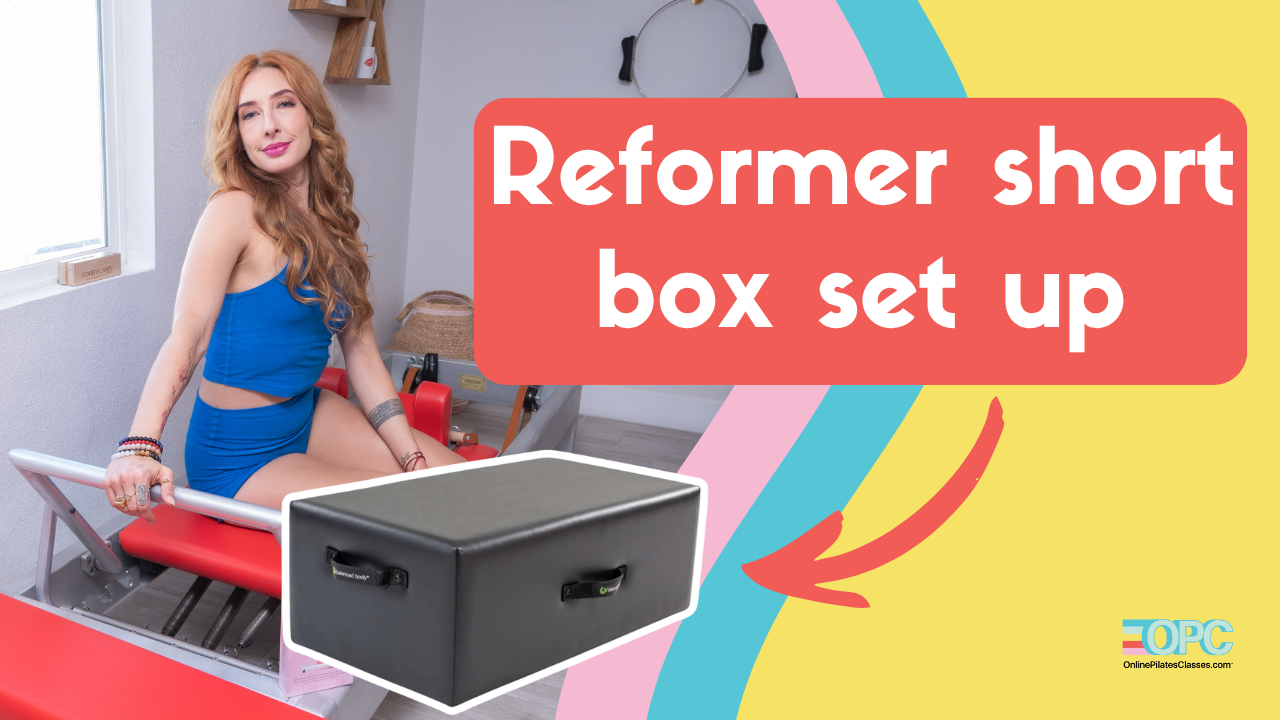
Master Your Reformer Short Box Setup for Better Results
Alright, does this box go in front of the shoulder blocks or over the shoulder blocks when you are doing short box series placement on the Reformer? We got to talk about it, because your Reformer short box setup can determine whether you enjoy this exercise series, loathe this exercise series, or just feel like it doesn’t make any sense in your body. So let’s dig in.
Welcome to Online Pilates Classes, the most supportive Pilates community worldwide. Enjoy new weekly classes from our incredible teachers. Download the OPC app today.
Hi, I’m Lesley Logan, and I am the co-founder of onlinepilatesclasses.com. I’ve been doing Pilates since 2005, teaching since 2008, and oh my goodness, I actually love the short box series. I love it for the reach of the legs and its full-bodied feel, but so many people have told me they don’t enjoy it because they can’t feel it in their abs. They feel like their quads are overworking. They feel it in their lower back. Oftentimes, people just avoid it because it makes a lot of noise. It takes time to set up, and, really, it all depends on where the box is placed. If you’re really clear on your Reformer short box setup and how to use that placement, then it makes a massive difference, and you understand and gain the most out of the series. And the series includes the round, the tall, the side-to-side, the twist-and-reach, the tree, and the side sit-ups. So we can’t just throw all of those out just because we don’t like how it feels. We just have to figure out how to set it up for you.
What Is the Reformer Short Box?
So what is a Reformer short box? Well, this is the short box, but it’s also often called a sitting box. And in a classical world, the short box also can be called a long box, depending on how it’s placed on your reformer. See how it’s long, and then when it’s turned Woo, it’s short. Anyways, it’s an integral tool to our Reformer order. But in a lot of purchases of Reformers out there, you may need to make sure you click to add a sitting box to your order. A lot of people buy a Reformer for their home use, and it didn’t come with this box. And that is such a shame, because that means you’re losing out on a ton of different exercises, not just the short box exercises, but the long box ones as well. And so you want to have a box that comes with your Reformer so you can add in the short box series. Maybe you’re only doing part of that series, but you want to have it, you will sit on this box. And because of sitting on the box that does pose, the need to understand your Reformer short box setup, because it can be a little dangerous if you put the box too far to one side or the other, or if you don’t put it in the right place for the strap to help you get the most out of the exercise. If you want some help choosing a Reformer, we have a great video where I talk about what to look for in a Pilates Reformer, so you can make the best investment for yourself. You can watch it here.
Why Short Box Setup Matters?
So the Reformer short box setup truly matters for you to have the best time doing your Pilates practice and get the most out of the benefits, but also importantly, to be safe if your box is not put in the right place for the length of your legs and the height of your body, then how the strap is around your feet is going to not feel as strong or as sturdy. But also that means you could slide around, that could be unsafe, or you could actually start to grip, to hold yourself up, and when you grip through your legs, it means you’re not going to be using your abdominals as much, which means you’ll just be doing a lot of choreography and probably wondering, why am I doing this anyways? When you do the short box series, it is a safe series for most bodies. There are advanced ways of doing each exercise, but without a proper setup, it’s very easy for you to grip in the quads and then go into your lower back, or worse, just use your lower back in general. Pilates is all about all the muscles working in unison, nothing over working or under working. And if your setup does not match how your body’s legs are going to reach and how you’re able to use the strap, unfortunately, you’ll be overworking a lot of muscles and under working some good ones. If you are interested in getting the most out of your Pilates practice, we have a great video on Pilates for beginners, it’s got lots of tools on how to make sure that what you’re doing in your classes and your sessions makes you get the most out of everything.
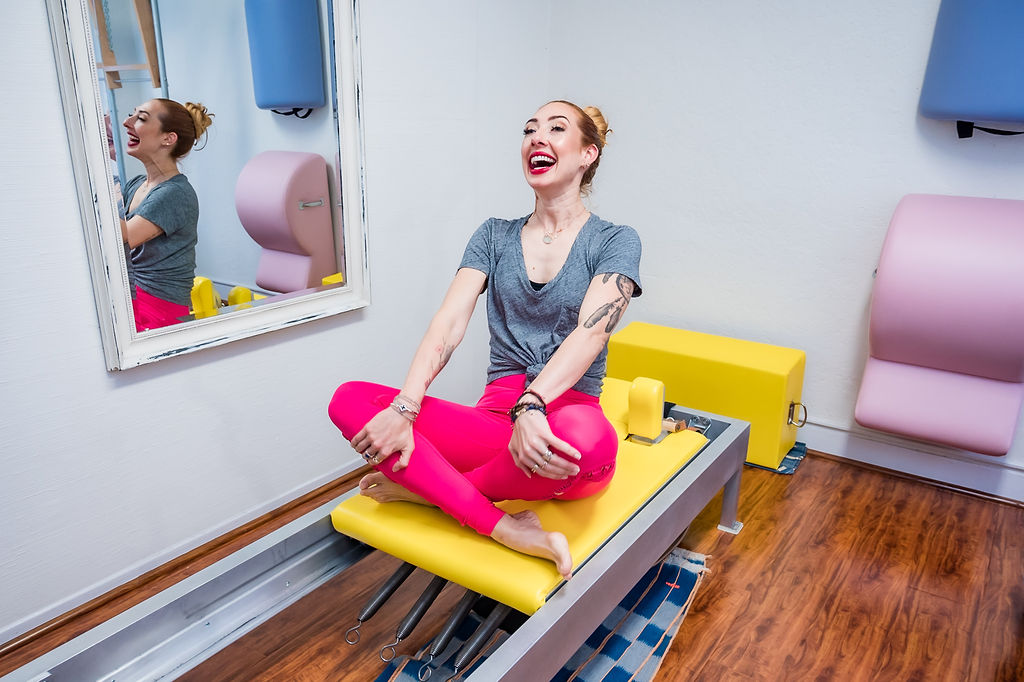
What Do You Need for a Short Box Setup?
So what do you need to set up your Reformer short box? A Reformer. Make sure you have handles out of the way and your head rests down. You need a short box. You also would like a pad. This is going to keep you from sliding around on your box. You need a dowel. This is going to be for your short box, tall and side to side, and your twist and reach. You might want a dog, just for the fun of it. And then you need to put your foot bar out of the way. This is maybe this is a personal preference for my classical training, but the reality is, is the foot bar should be out of the way when you’re not using it. One as a neuro divergent person, the claustrophobia is real when the foot bar is up and my legs are doing things, I’m so worried I’m going to hit this foot bar. So it always goes out of the way. But also it makes it easier to access your strap a lot of times. If the bar is up, it can be a little harder to get the full function of the strap. Okay? And you can see, I have two straps here. So if your Reformer, has two straps, they want you to use them. Do you hear that noise? So when you have two straps and you hear that noise. It means you’re not using the strap appropriately. So that makes it really nice. If you only have one strap, don’t fear you’re going to be okay. You just have less of something telling you you’re doing it wrong.
Step-by-Step: How to Set Up the Short Box?
Placing the Short Box Correctly
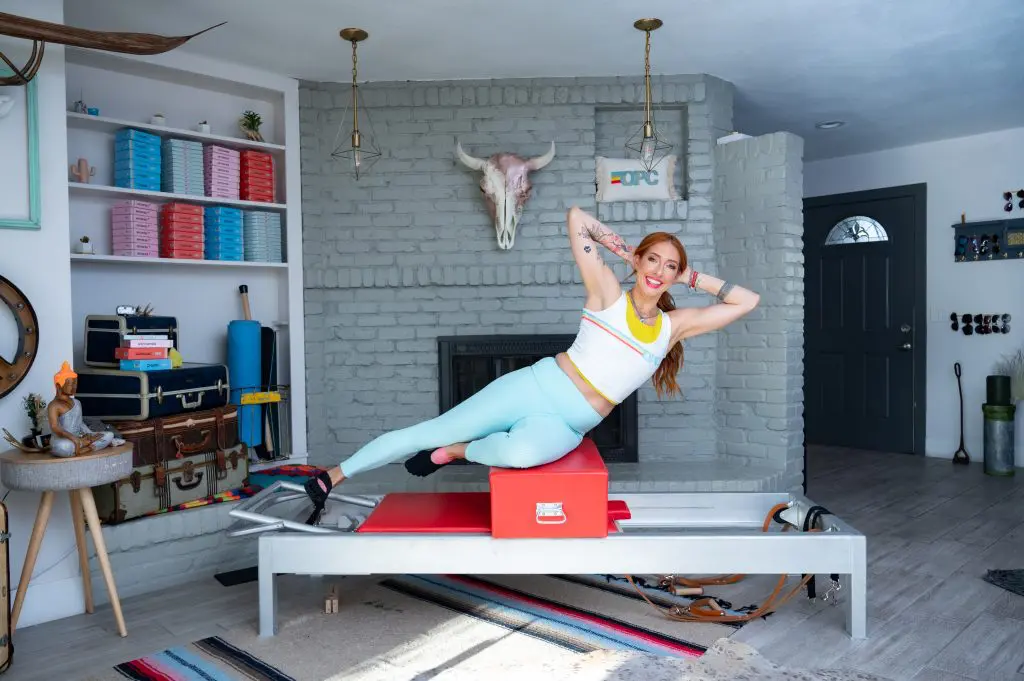
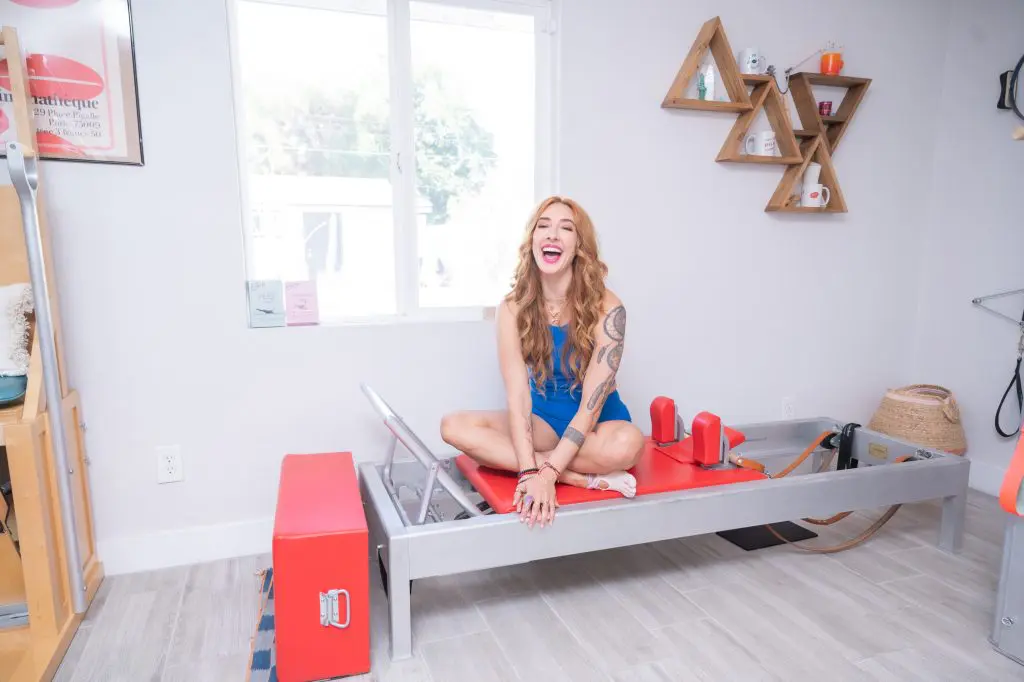
So let’s talk about placing this short box on the right spot for you. If you are on the fun size. And by fun size, I mean you regularly complain about the length of pants. Everything feels a little, just a little bit too big for you. You’re not tiny, tiny, but like five four, right? Or under maybe five, five. You might want the box to be in front of the shoulder rests, all right. It also can determine where the strap is. If a strap is inside the frame and you’re on the fun size probably here, if it’s on top of the frame, and you feel like you’re in between, you might have to check, how will you know? I’ll show you just a second. If you are more of the average height or taller, the short box needs to go over the shoulder blocks. Okay, you can see how these little pegs here, I like to keep my box close to the shoulder rest, so that the pegs don’t dig in if you are taller, so over five, seven or taller, you’re going to want to go over the shoulder blocks. Do you see how these little pegs here? They’ll disappear in just a second, but I’m going to go in between the pegs and the shoulder blocks. Now, if when I sit on this My height is such that I don’t have space at the edge of the box, then I can often gear out. What does gearing out mean? It means I can actually move my carriage a little further away. The gear bar goes in place. You have a little stop gap so it doesn’t move around, but that way I have again, more space.
Setting the Foot Strap
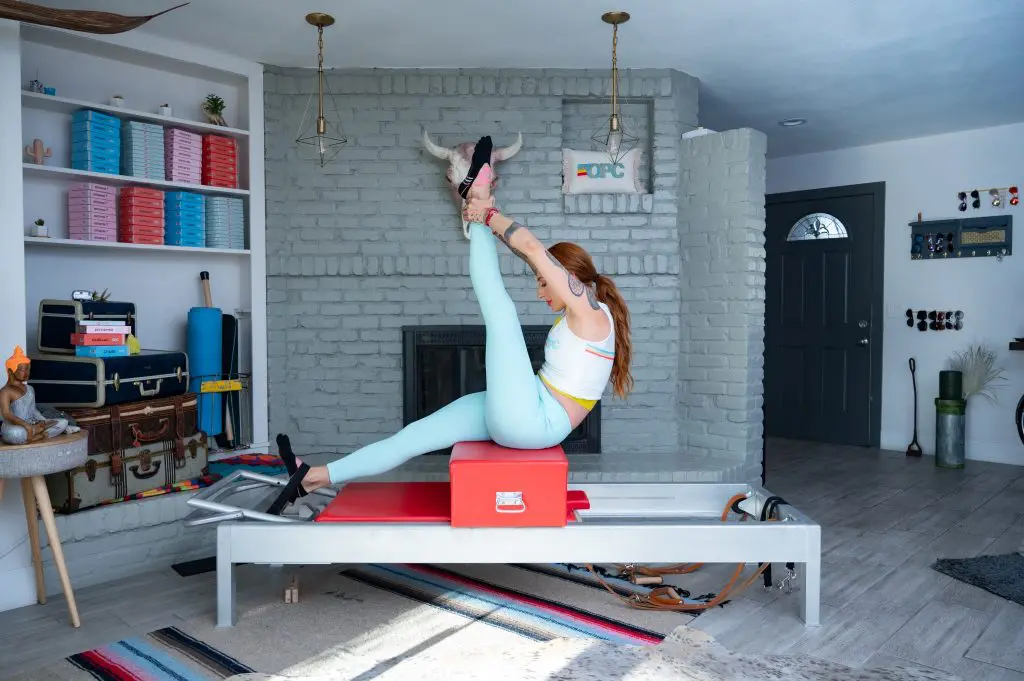
So the taller you are, the further the box needs to be away from the straps. All right, if you cannot gear out, provided that it’s safe to do so you could go over the pegs and a little further over the box. You just want it over the blocks. You just want to make sure that the box isn’t going to move around once you’re on there, all right, so, but for me, my Pilates Reformer equipment setup is in its normal gear, two springs on so the carriage doesn’t move. Dowel is in front of the shoulder blocks until the front of the short box, and then my short box is over my shoulder rest, so that when I sit down, and this is where you’ll try when I sit down and I put the straps on my feet, I can have when the strap is as close to my ankle, this is key, close to my ankle with flexed feet, and it’s taut and I’m pushing apart. I can have mostly straight legs. If you’re on the fun side, and you put the box there, and you can’t get the strap to your ankle that’s like, stuck on your toes. You would move the box in front of the shoulder rest, if your box is super tall, that can also affect where it needs to be, so that your legs could be reaching. But it’s very important that the strap is down as close to the ankle as you can, so that you can have tension and support. And I’m sitting on that sticky pad so I can’t slide around. If I’m sliding around, then the strap is not going to be as taut, and it’s going to make it more difficult for me to get back up from any of the positions.
Short Box Setup for Different Exercises
Some things to double check are that your feet are firmly flexed. It’s not just your toes. Your ankles are very flexed. Your legs can reach. So when my legs are reaching, you can say, get a little taller, and my hamstrings engage and my glutes turn on, that’s really key. And then I still have some edge of the box behind me, so that when I roll back, I have some box to support myself in this back and back here. If I didn’t have that, then I would need to probably gear out so I could have a little bit of space. If you find that when you set up, you have, like, enough space that someone else can share this box with you, you probably need to move your bunks forward in front of those shoulder blocks. So here’s the great news. once you have your short box set up for your short box series, you don’t have to change it for the whole series where you in fact, the goal is that you don’t move around at all. You do your round, you do your tall, your side to side, your twist and reach, your tree and your side sit ups all with this box right here. It makes flowing and moving from one exercise to the next, so much more fun. So if you would like to use your short box with me in a workout to see how that works. Check out our Reformer challenge. It’s four weeks long. You’ll go to opc.me/challenge links also below.
Common Mistakes in Reformer Short Box Set Up
So some common mistakes to avoid. I may have mentioned these already, but I just want you to have a nice little checklist. Putting the box too far. Forward or back for your body, this box is placed exactly where it needs to be for you, which might be different than the person next to you, your feet, letting the strap become slack as you move by pointing. Or when you come up, you come up so far that you’re not opposing the move, and your stomach is not going back. And then the strap gets slack, or maybe you have when you’re doing your twist, your feet are shifting inside that you want to make sure you’re it’s almost like you’re standing on the floor. Your feet are reaching and they’re pushing out, and they never get closer together as you go back, or further apart as you come up or go one leg forward or back. This is taut, quiet, still strong, your hips sliding around, back and forth. It’s often a sign that we’ve kind of let go to hang into our flexibility and then gripped to come up. It should feel solid and stuck, and that’s why that sticky pad exists. And it’s also just really important that you make sure that your Reformer sitting box guide is placed evenly on your carriage. Some short boxes actually have an extra lip or ledge on the front, back and sides. So because you might be doing side sit ups or going backwards in space, you want to make sure that your box is evenly placed on the carriage, not just also in the front and the back, based on what you need. If you’re curious about other things to pay attention to when it comes to doing Pilates class, we want you to check out this video we have on common mistakes to avoid at your next Pilates class, some short box safety tips and some modifications you want to consider.
Safety Tips & Smart Modifications
Just because the short box series has back bends in it or deep opening of the front of the hip or twists, doesn’t mean you need to do those make sure that you are ready in your practice. So do the size of a round, back, tall, back, side to side that is right for your body. If twisting is safe, then when you do your twist and reach, make sure that you’re not going beyond what your entire body is ready to do. It’s absolutely okay to take breaks between each exercise, reset to make sure that your setup is okay, or omit exercises that are not right for your body yet. Building your practice up is the most important thing you can do. Pilates is always a practice. It is never perfect, and at Online Pilates Classes, we believe it is brave and courageous to replace what you can’t do yet with something that you can do. So if you can’t do flexion, there are tall back exercises on the short box to do. If you can’t do extension, there’s something for you there as well. So do what you can and leave the rest.
Quick Instructor Setup Check
Alright, teachers, for those of you watching some things to be looking for, because I know you have to watch big groups all the time, and you’re like, what do I do? So the strap should always look taut on their feet as close to the ankles as possible. And really double checking and trying to get them to understand that their toes over stretching is not the same as their ankle flexing. So them doing this is not the same those toes flex. It’s not the same as them flexing their ankles. Really, really important. Also double checking that they’re not just letting their legs hang down, but they’re pressing them down and out so that their hips are nice and strong and steady on their box, double checking that there is some space behind their back, so that their box is in the right place for them, and then as they’re moving back and forth, up and down, side to side, that their strap isn’t getting loose and then taught, if that is happening, they need to stop doing the exercise, reset and adjust the depth that they’re going in and out of that exercise. You will not only make you feel safe and secure when you’re teaching them that they’ll get the most out of the exercises, which means they’ll keep coming back.
If you love the Reformer and you want to nerd out with me, I love nerding out. We actually have the Reformer flashcard deck that has all the classical exercises from Joe, including some amazing preps and advancements and some great tips when it comes to your Pilates box over shoulder blocks exercises. Also, we have a mastering the basics on the Reformer workshop over on Online Pilates Classes. It is a great workshop that is all about the setup of your Reformer and what to be looking for. So we go over the short box, straps, foot bar, and springs, the whole thing. Check it out at onlinepilatesclasses.com We’ll also have the link in the show notes.
Thanks so much for joining me. You know, I love making these videos for you, and I actually really love nerding out on something like a short box setup, because I know too often people are skipping it because they just don’t know where the box should go, or it feels uncomfortable. And so it means so much to me when we can break it down and help you find the most out of your Pilates exercises that you’ve been avoiding. As always, if you are an Online Pilates Classes member and would like me to check your Reformer short box setup, you can go into the community and submit a video of it. Or you are doing exercise in your short box, and I will give you personalized feedback on what is going on. If you are like, Oh, I would love that. Well, then go to onlinepilatesclasses.com/youtube, you can take advantage of that as well when you become an Online Pilates Classes (OPC) member, have an amazing day.